How to Make Rubber Band Bracelets: 9 Easy Methods
What Are Rubber Band Bracelets?
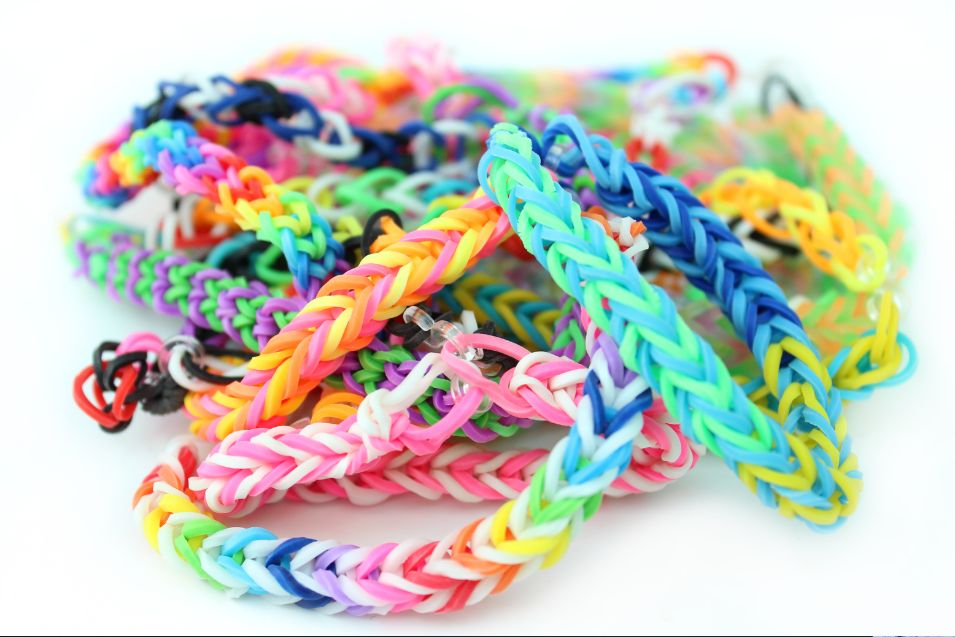
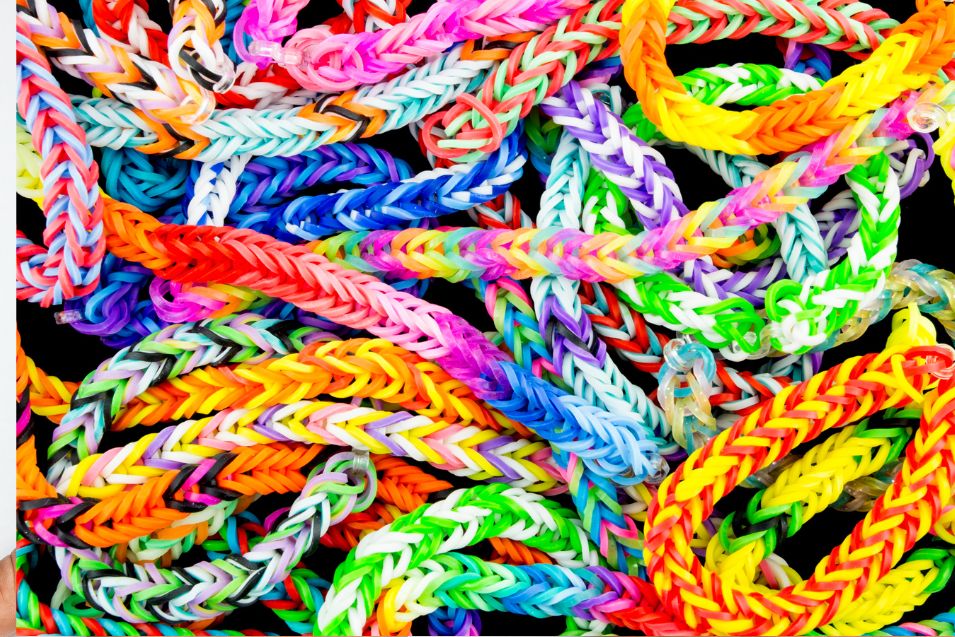
Rubber band bracelets are colorful and stretchy accessories made from small rubber bands. People weave these bands together using their fingers, a hook, or a special loom to create different patterns and styles. These bracelets became very popular among kids and teenagers because they are fun to make and easy to wear. They come in many bright colors and can be customized with different designs, charms, or even letters to make them unique.
These bracelets are often used as a creative hobby and a way to express personal style. Many people enjoy making and trading them with friends, making them a fun social activity. Rubber band bracelets are lightweight, affordable, and comfortable to wear, making them a great fashion accessory for all ages. Some people also use them to support causes by wearing specific colors to show awareness for different issues.
How to Make Rubber Band Bracelets
Making a rubber band bracelet is a fun and creative way to design your own jewelry using simple materials. These bracelets are easy to make and can be customized with different colors and patterns. Whether you use a loom or your fingers, the process is simple and enjoyable. You start by looping rubber bands together in a chain-like pattern and continue until you achieve the desired length. This activity is great for kids and adults who love DIY crafts. Once finished, you can wear your bracelet or gift it to friends and family.
Steps to Make a Rubber Band Bracelet:
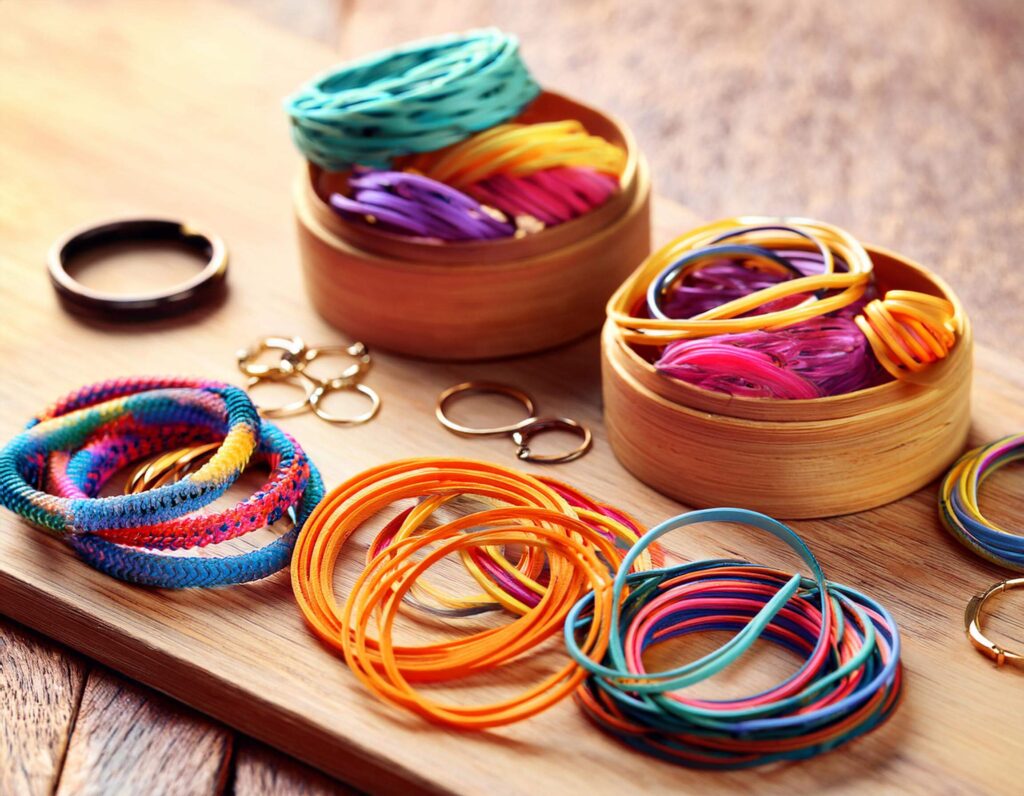
- Gather Materials: Get colorful rubber bands, a loom (or use your fingers), and a small hook or clip.
- Start with a Base: Take a rubber band, twist it into an “8” shape, and place it on two pegs of the loom or two fingers.
- Add More Bands: Stack two more rubber bands on top without twisting them.
- Begin Looping: Use your fingers or a hook to lift the bottom band over the top ones and release it in the middle.
- Continue the Pattern: Keep adding new rubber bands and looping the bottom band over until the bracelet reaches your desired length.
- Secure the Ends: Use an S-clip or C-clip to connect both ends of the bracelet.
- Wear and Show Off: Your rubber band bracelet is ready! Try making more with different colors and styles.
9 Different Methods to Make Rubber Band Bracelets
Making rubber band bracelets is a fun and creative activity that can be done in multiple ways, depending on the tools and complexity you prefer. Here are some different methods:
1. Finger Loom Method (No Tools)

The finger loom method is a simple way to make rubber band bracelets without any special tools. It’s perfect for beginners who want to create a quick and fun bracelet. By using just two fingers, you can loop rubber bands into a stretchy and colorful design. The process involves layering bands, pulling the bottom band over, and repeating until the bracelet reaches the desired length.
Steps:
- Take a rubber band and twist it into an “8” shape, placing it over two fingers.
- Add two more rubber bands (without twisting) on top.
- Pull the bottom band over the top two bands and off your finger.
- Repeat the process, adding a new band each time.
- Once it reaches the desired length, attach a clip to secure the ends.
2. Pencil Method
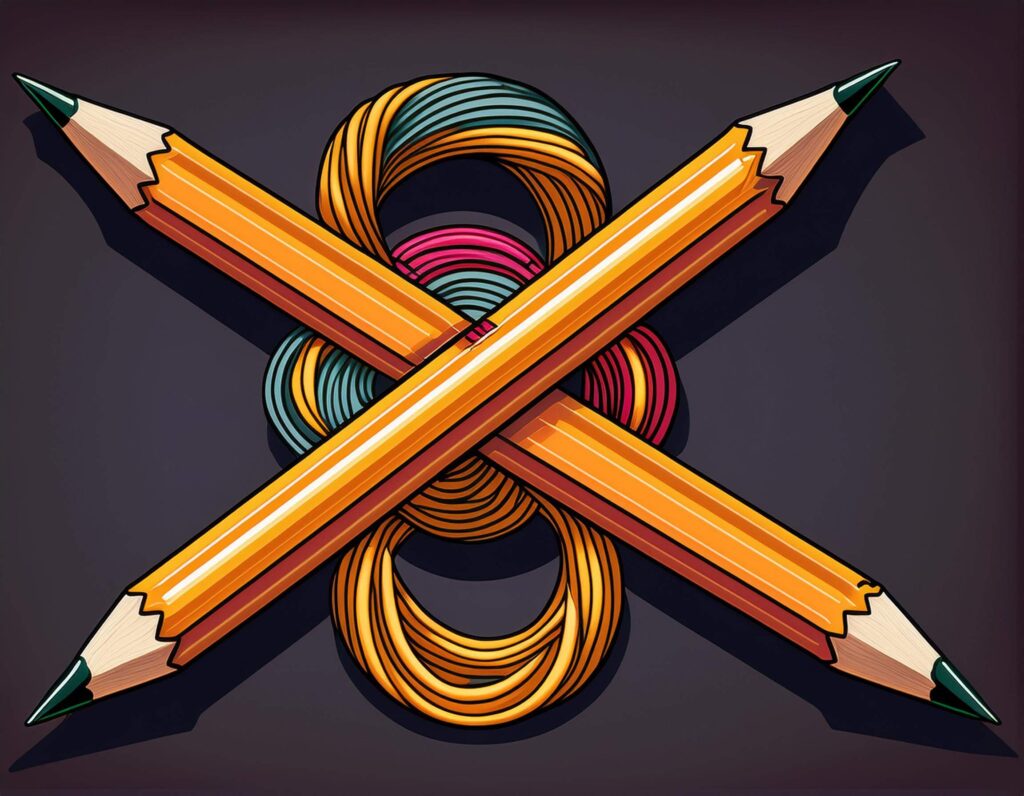
The pencil method is similar to the finger loom method but offers better control and tension. By using two pencils as a loom, you can create tighter and more even loops. This method is ideal for those who find the finger loom too loose or uncomfortable. It’s a great way to practice before moving on to more complex designs.
Steps:
- Hold two pencils together as a makeshift loom.
- Twist the first rubber band into an “8” shape and place it over both pencils.
- Add two more rubber bands on top without twisting them.
- Pull the bottom band over the top two bands and off the pencils.
- Continue adding bands and looping until the bracelet reaches the desired length.
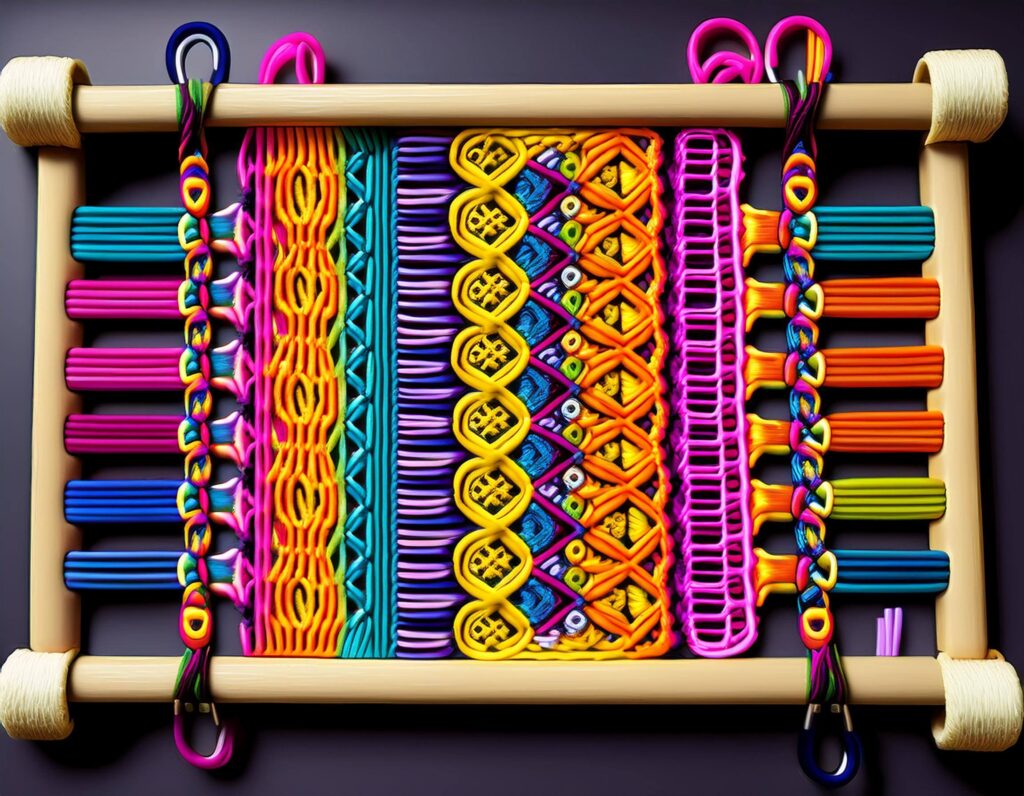
3. Hook and Loom Method (Rainbow Loom)
The Rainbow Loom method allows for more intricate and detailed designs. This technique uses a plastic loom board and a hook tool to create structured patterns. It’s ideal for those who want to experiment with advanced bracelet designs like fishtail, starburst, or dragon scale patterns. The loom helps in making bracelets with even tension and unique styles.
Steps:
- Place rubber bands in a specific pattern on a loom board.
- Use a hook tool to loop the bands following the design structure.
- Continue looping each band carefully, making sure to maintain the pattern.
- Once the bracelet is completed, secure the ends with a clip.
- Remove the bracelet from the loom and adjust for a perfect finish.
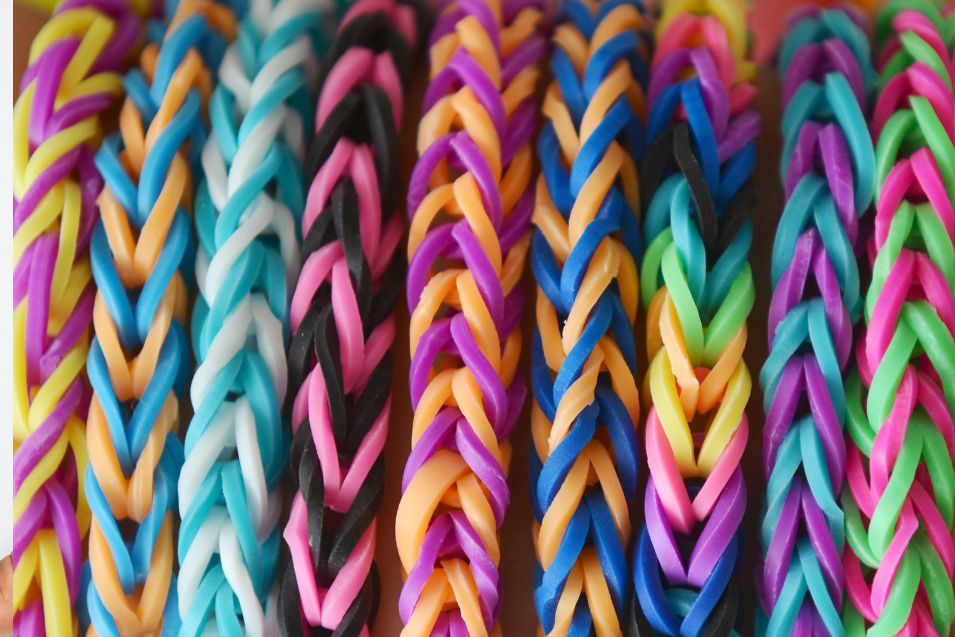
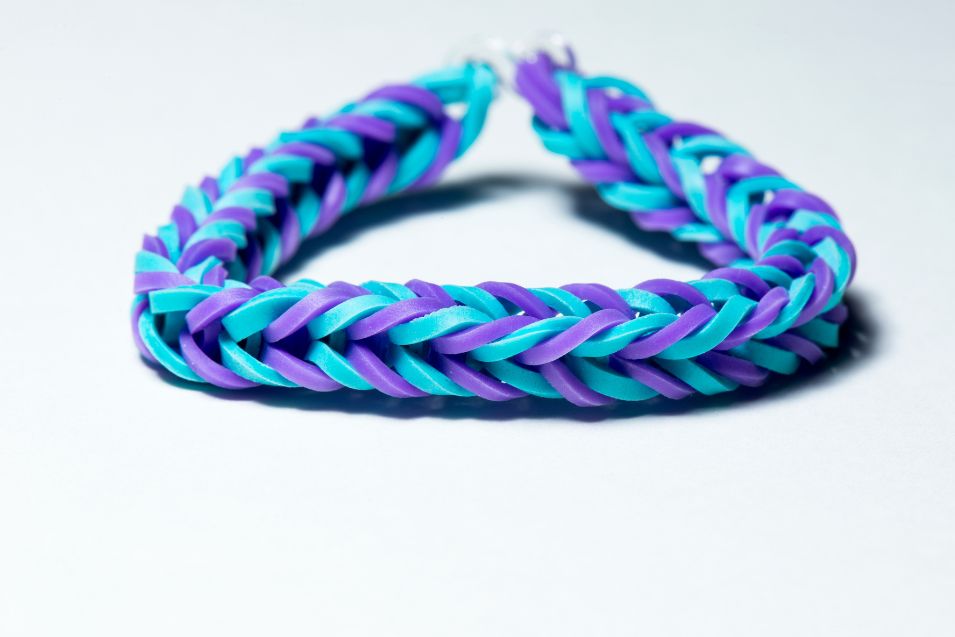
4. Fishtail Bracelet (Advanced Without Loom)
The fishtail bracelet is a more advanced design that can be made without a loom. It creates a braided look by looping rubber bands in a structured way. This method requires more precision but results in a stylish and durable bracelet. It’s a great choice for those who have mastered the basic looping technique.
Steps:
- Start with a figure-eight twisted band on two fingers.
- Add two more regular bands above it without twisting.
- Pull the bottom band over the top two bands.
- Repeat the process while maintaining the fishtail pattern.
- Finish by clipping the ends together for a secure bracelet.
5. Triple Single Bracelet
The triple single bracelet is a colorful and wide design created using a loom. It consists of three rows of rubber bands, making it a more visually striking piece. This method is great for making bracelets with different color combinations and patterns. It’s a step up from simpler designs and allows for creative expression.
Steps:
- Set up a loom board with three rows of rubber bands.
- Place the bands in a structured pattern across the loom.
- Use a hook tool to link the bands together.
- Continue looping the bands until the bracelet is fully formed.
- Secure the ends with a clip and remove the bracelet from the loom.
6. Chain Bracelet
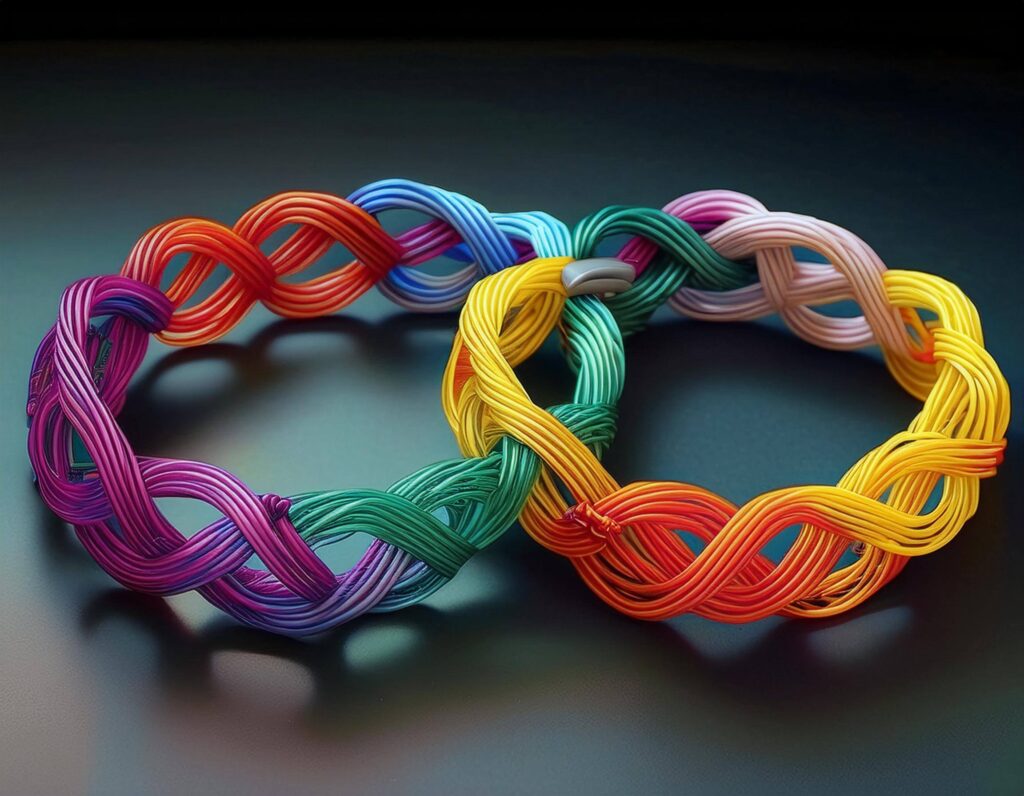
The chain bracelet is one of the simplest rubber band bracelet designs. It involves looping one band into another, creating a basic chain-link structure. This method is perfect for beginners and requires minimal effort while still producing a stylish result.
Steps:
- Take one rubber band and loop it through another.
- Pull the second band through and repeat the process.
- Continue until the bracelet reaches the desired length.
- Secure the ends with a clip to complete the design.
- Adjust the loops for an even and neat appearance.
7. Ladder Bracelet
The ladder bracelet is made using a loom and has a structured, ladder-like design. This method involves multiple layers of rubber bands and requires careful hooking. It creates a more detailed and visually appealing bracelet that stands out.
Steps:
- Set up a loom board with multiple rows of rubber bands.
- Layer the bands in a ladder-like structure.
- Use a hook tool to loop the bands into place.
- Continue hooking until the bracelet forms the desired shape.
- Secure the ends with a clip and remove it from the loom.
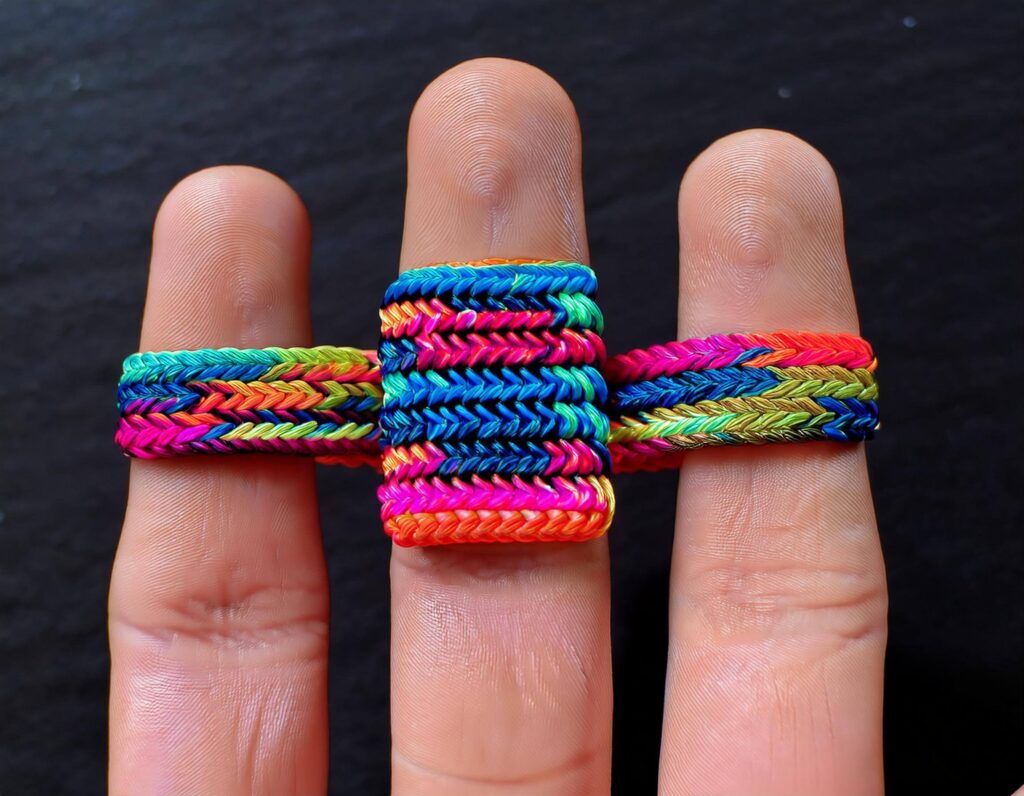
8. Hexafish Bracelet (More Advanced)
The hexafish bracelet is a thick and rope-like design that requires a loom or multiple pegs. This method is more advanced and creates a rounded bracelet with a complex pattern. It’s a great option for those who want a more durable and stylish accessory.
Steps:
- Set up a loom or at least six pegs in a circular pattern.
- Place the rubber bands in a specific hexagonal order.
- Use a hook tool to loop and weave the bands.
- Continue looping until the bracelet forms a thick and sturdy design.
- Secure the ends with a clip and carefully remove it from the loom.
9. Caterpillar Bracelet
The caterpillar bracelet is a unique design that adds extra loops to create a bumpy, textured effect. It uses a loom and involves additional steps to achieve its distinctive look. This method is ideal for those who want a fun and playful bracelet.
Steps:
- Set up a loom board and place rubber bands in a structured pattern.
- Add extra loops on top of the base bands to create the bumpy effect.
- Use a hook tool to carefully weave and secure the bands.
- Continue looping and adjusting the bands for a consistent texture.
- Secure the ends with a clip and remove the bracelet from the loom.
Each method offers different levels of difficulty and creativity. Beginners can start with simpler methods like the finger loom or chain bracelet, while more experienced crafters can explore intricate designs like the hexafish or caterpillar bracelet.
Tips for Making Perfect Rubber Band Bracelets

1. Use Good-Quality Bands
Using high-quality rubber bands prevents them from breaking while making bracelets. Cheap bands can snap easily, ruining your design and causing frustration. Durable bands help your bracelet last longer and look better.
2. Try Different Colors
Mixing different colors can make your bracelet stand out and look unique. You can create patterns, gradients, or even themed designs for a stylish touch. Playing with colors adds creativity and makes your bracelets more fun.
3. Stretch Bands Before Use
Gently stretching the rubber bands before use makes them more flexible and easier to work with. This reduces stiffness and helps prevent sudden breakage while weaving. Flexible bands create smoother and neater bracelet designs.
4. Use a Loom for Designs
A loom makes complex bracelet patterns like dragon scale or starburst easier to create. It helps with precise placement of bands and keeps the design neat. Using a loom gives your bracelets a professional and polished look.
5. Store Bands Properly
Keeping rubber bands in an airtight container prevents them from drying out. Proper storage maintains their elasticity and ensures they stay stretchable. Store them in a cool, dry place to keep them in good condition.
Creative Ideas for Customizing Rubber Band Bracelets
1. Add Charms or Beads
Enhance your bracelet by adding small charms or beads for a unique touch. These can make your design more stylish and personalized to match your taste. Choose different shapes and colors to create a standout look.
2. Mix and Match Colors
Experimenting with different color combinations makes your bracelets more fun and creative. Try bold contrasts, pastels, or themed patterns to add variety. Mixing colors can give your bracelet a fresh and eye-catching design.
3. Use Glow-in-the-Dark Bands
Glow-in-the-dark rubber bands add a cool effect, especially at night. They make your bracelets stand out in the dark and are perfect for parties or events. Charge them under light to enjoy the glowing effect later.
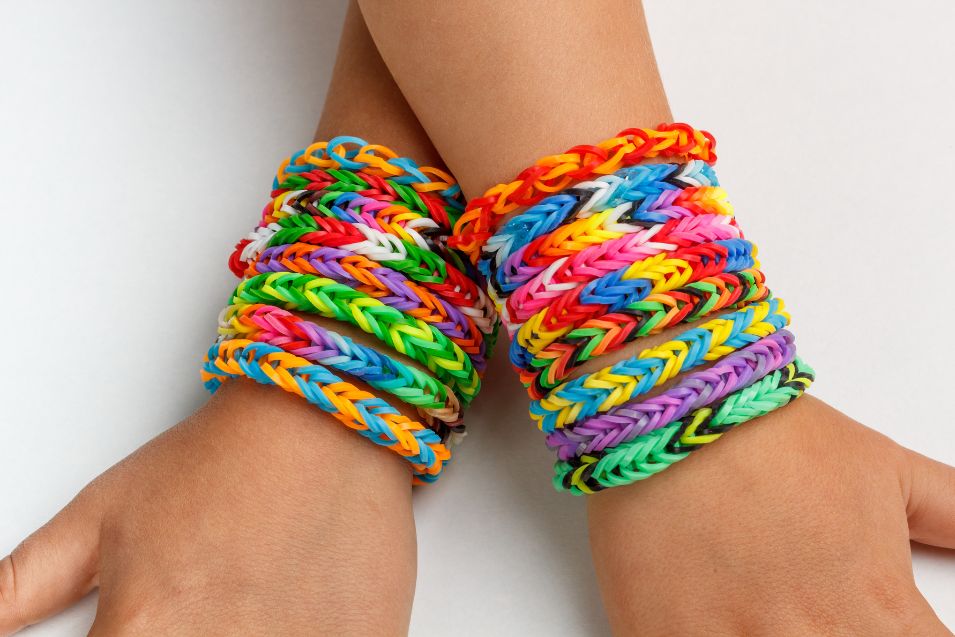
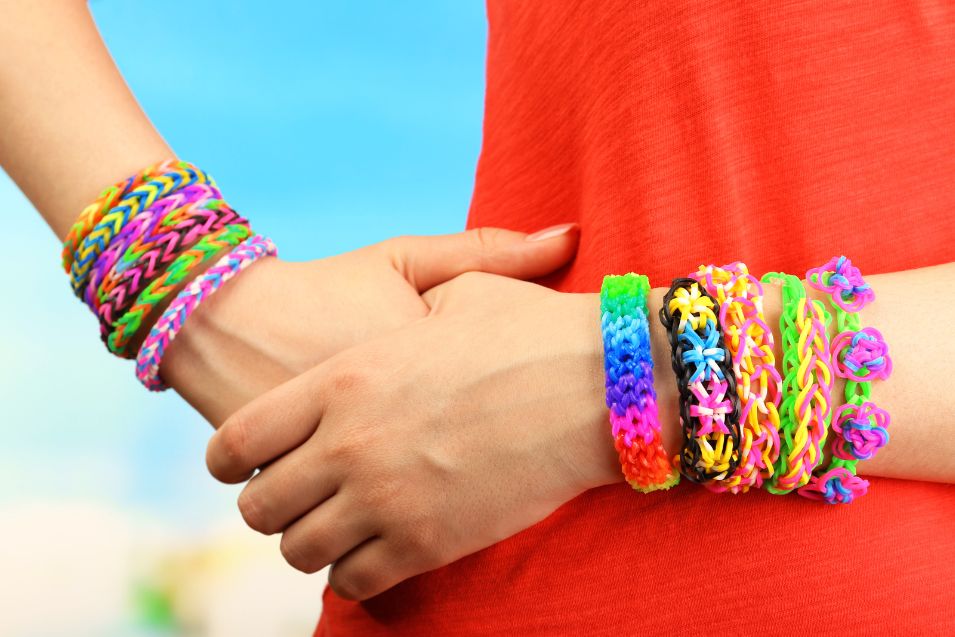
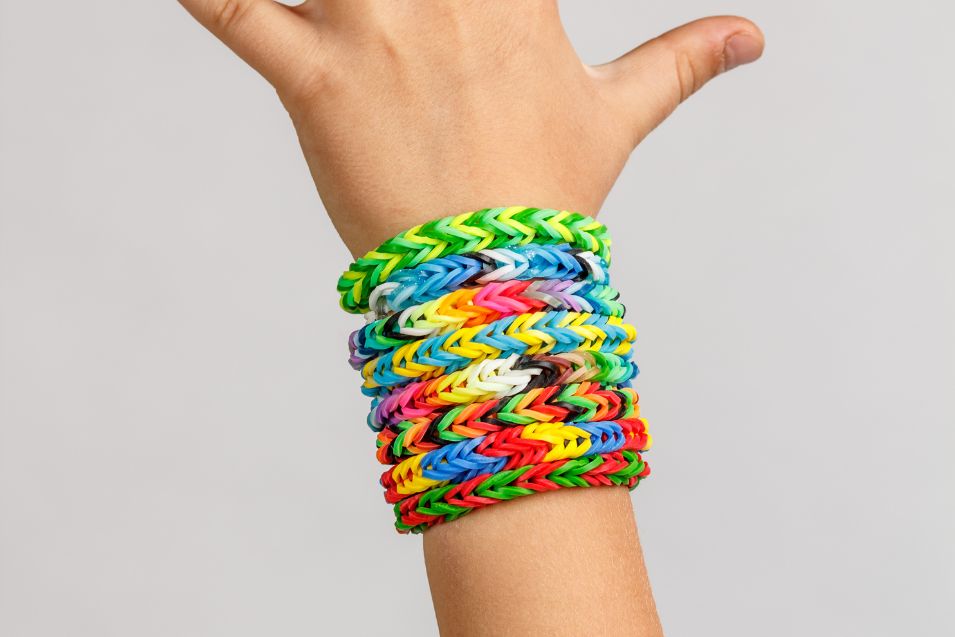
4. Stack Multiple Bracelets
Wearing multiple bracelets together creates a trendy layered look. Mix different styles, colors, and patterns to make your stack unique. This style works great for both casual and stylish outfits.
5. Make Rings or Keychains
Use the same rubber band weaving technique to create rings or keychains. These mini accessories are fun to make and can be customized just like bracelets. They also make great personalized gifts for friends and family.
Frequently Asked Questions
Can I make rubber band bracelets without a loom?
Yes! Many designs, such as the single chain and fishtail, can be made using just your fingers.
How long does it take to make a rubber band bracelet?
It depends on the complexity of the design. A simple single chain can take about 5-10 minutes, while more intricate designs may take 30 minutes or more.
Are rubber band bracelets safe for kids?
Yes, but younger children should be supervised to avoid swallowing small bands.
Where can I buy rubber bands for bracelet making?
You can find them in craft stores, online, or in department stores that sell DIY kits.